11 Photoshop Tips You Can Use to Perfect Your Newborn Images

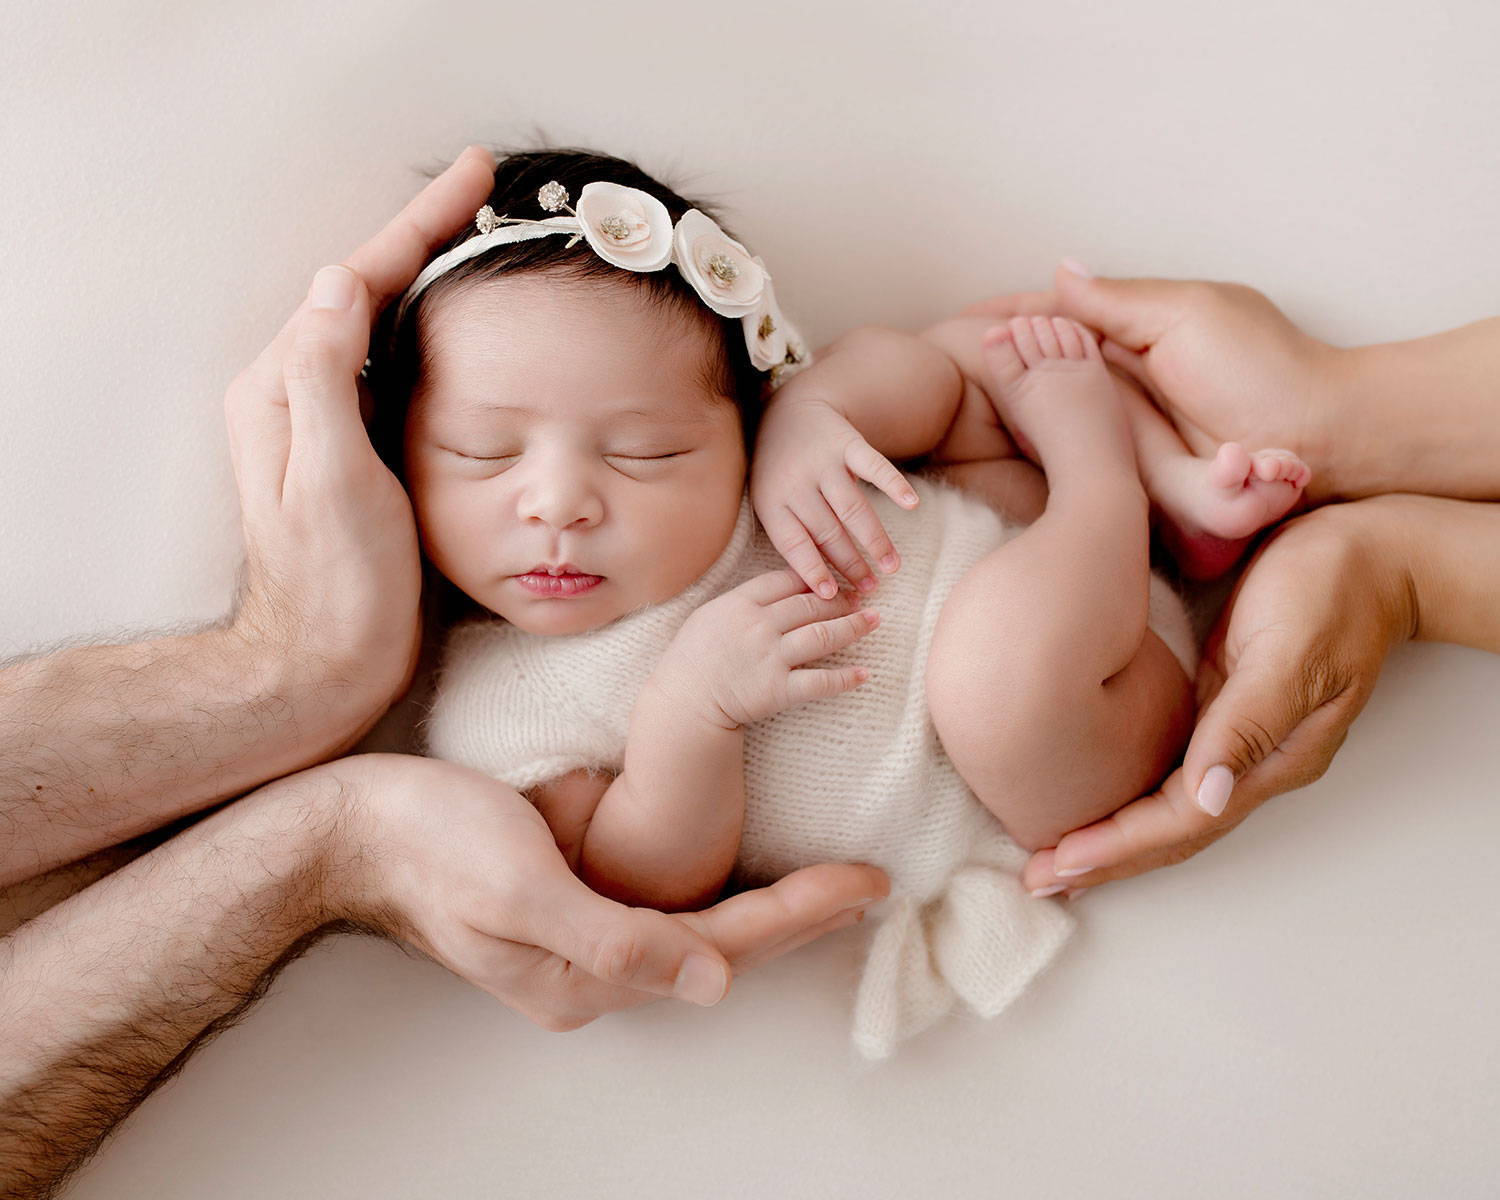
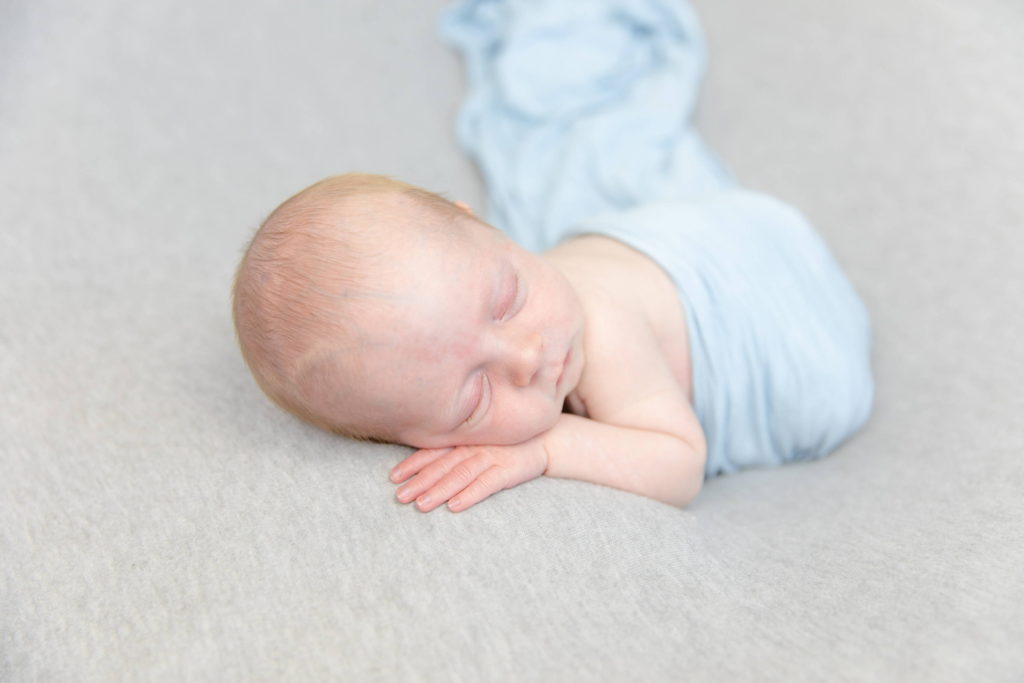
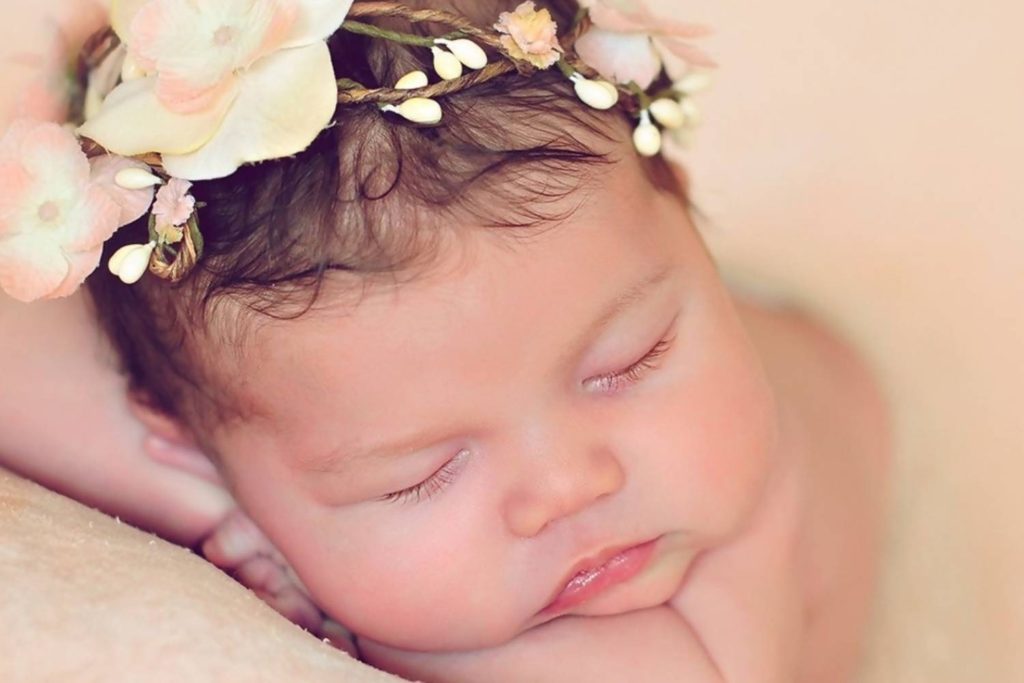
Newborn photography is not as easy as it appears to be. Yes, the presentation of the images could look so simple as the usual scenario involves that of a sleeping baby either partially naked or wrapped in cloth. What could be so complicated with that, right? You’re wrong! The ‘behind the scenes’ of the photoshoot requires a lot of attention to detail and extra care. First off, photographers are dealing with a newborn here, so there’s an enormous amount of consideration for safety. Second, the session usually takes a grueling 2 to 4 hours. It’s a challenging job that centers around the baby’s needs – getting the baby to sleep, positioning the baby for the right pose, changing diapers as needed, cleaning up ‘messy accidents’ when it happens, feeding the baby, and maintaining the right room temperature. 
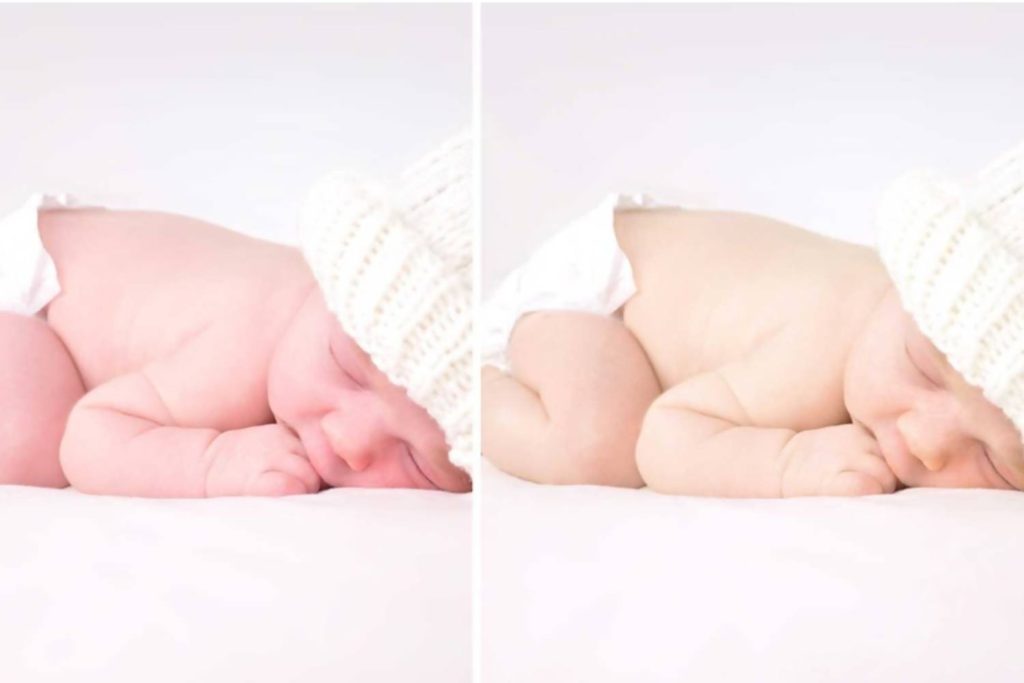
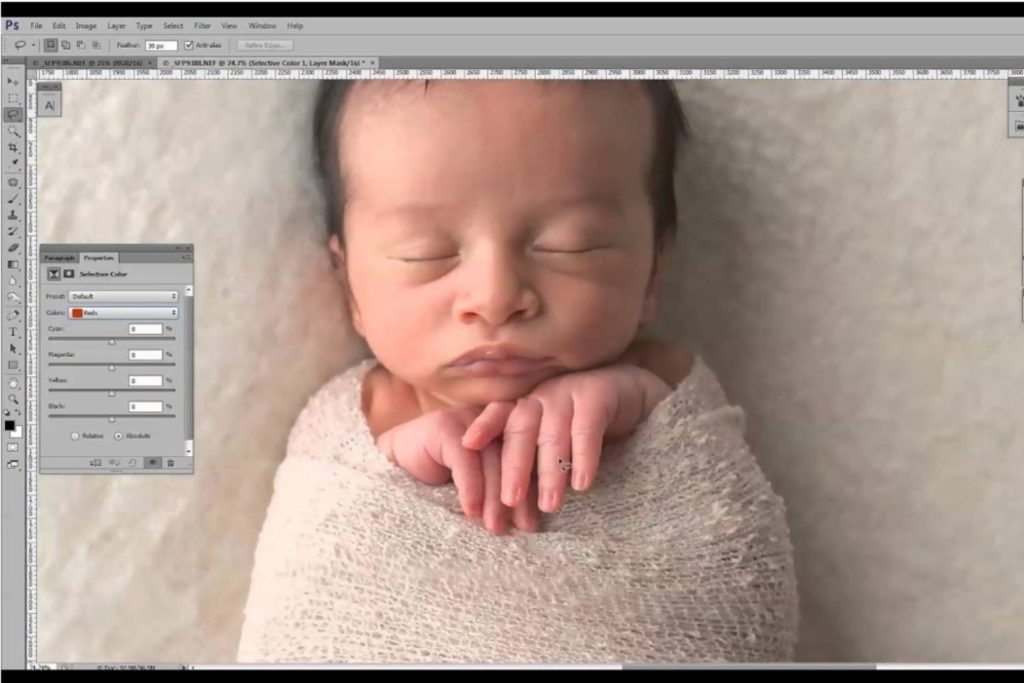
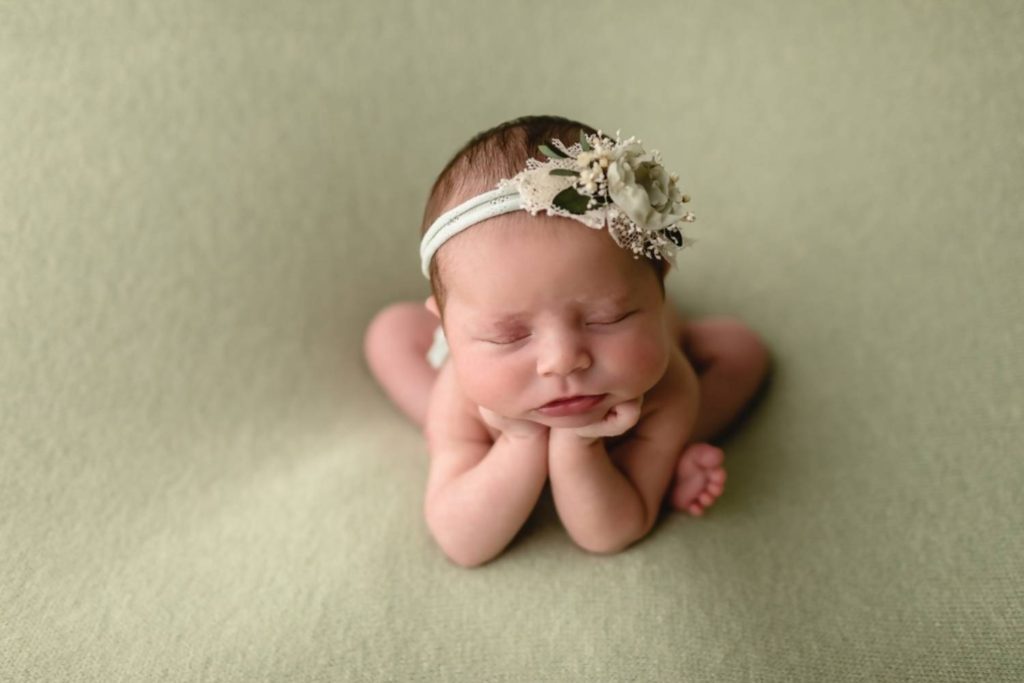
After the shoot, what you get is just raw photos. These are far from the professional-looking newborn photos that solicit cute and adorable reactions. Post-processing – usually using Photoshop – is needed for the magical images to come through. And again, navigating post-processing software is not an easy feat. Luckily for you, we are here to give you some tips and tricks of the trade. Try these photoshopping tips and tricks to elevate your new newborn photos and make them as pro-looking as can be. Also, make sure that you are using the best camera to shoot newborn photos. In case if you have trouble finding a suitable camera, then check this newborn photographer’s guide to camera selection.
1st

Use the Airbrush Tool

In reality, a baby’s skin is flawed. There will always be marks, blemishes, blotches, and other skin conditions that are not ideal for a perfect baby photo. The airbrush feature of Photoshop is the ideal tool for skin smoothing and retouching, so use it. However, note that not all skin conditions should be edited out. For example, you wouldn’t want the crinkled skin of the baby’s hands and feet to be smoothened because those details are important and capture the essence of a baby photo.

2nd

Utilize Opacity Tool

In reality, a baby’s skin is flawed. There will always be marks, blemishes, blotches, and other skin conditions that are not ideal for a perfect baby photo. The airbrush feature of Photoshop is the ideal tool for skin smoothing and retouching, so use it. However, note that not all skin conditions should be edited out. For example, you wouldn’t want the crinkled skin of the baby’s hands and feet to be smoothened because those details are important and capture the essence of a baby photo.

Tiny Prop Wrap Options

3rd

Overexpose For Color Adjustment

The skin tone of most newborns is slightly reddish, and you don’t want it to pop out on the photo. What you can do is to overexpose certain parts of the baby’s skin to soften the tone. You can do this trick to any unwanted colors on the baby’s feature. But, again, only do this to un-ideal imperfections that need color adjustment. You don’t want to do this on birthmarks because it adds to the uniqueness of the baby.

4th

Desaturate For a Softened Look

There are many tricks to color adjustment professional use in their everyday editing tasks. Aside from overexposure, you can also do desaturation. Just like overexposing, you do desaturation on parts that you want softening. What desaturation does is turns the color to almost a black and white effect. If you are not exactly aiming for a full black and white image, desaturate the selected part slightly until you get what you are aiming for.

5th

Use the Lasso Tool to Isolate

Sometimes the image is almost perfect except for that one tiny body part that has a different skin tone from the rest. The trick here is to use the lasso tool to isolate that part and make necessary corrections. Using the lasso tool is relatively easy to use. Once active, hover and circle over the area which you want to correct, and it will automatically isolate that area for editing.

6th

Make the most out of the Contrast and Clarity Sliders

Most post-processing software (including Photoshop and Lightroom) have a contrast and clarity sliders. So many editing miracles can be done using these two alone. For newborn photos, they are your best tools to give the appearance of a smooth and creamy baby skin tone.

Reducing the contrast of the image helps in removing dark spots and shadows. In turn, this will create a smoothing effect on the skin. On the other hand, reducing the clarity aids in making the skin appear soft and creamy. For both, try not to overdo things. For best results, stay within the range between -10 to -20. To perfect this, you should practice with as many newborn photos as you can because each baby is different from the next.

7th

Selective Color Adjustment

Sometimes, adjustments using the contrast and clarity sliders only do so much. That is where the Selective Color Adjustment tool could come in. With this tool, you can further fine-tune the skin tone editing. The trick here is to use the targeted adjustment on each element. To execute, go over the targeted adjustment tool, select the part of the skin you want to further correct (for example, if you’re going to remove redness on the skin) using your mouse, then adjust accordingly until to get the result you’re looking for. For a more in-depth tutorial, you can check out this video below.

8th

Add a Warming Filter

If you’re trying to achieve a warm glow for the skin tone, adding a warming filter can do the trick. Adding this filter elevates the overall warmth of the image. To do this, go to Layer sections, then to New Adjustment, and then to Photo Filter. Select the Warming Filter from the drop-down menu. Once selected, you can adjust the density of the filter to the setting you prefer or to the one that best suits the photo.

9th

Learn how to do Compositing to achieve ‘Frog’ poses

A ‘frog’ pose is trendy among newborn photographer. That is when a baby assumes a position where his/her hands have to support the head. But of course, newborns can’t support their head by themselves, so what usually happens is that the parent will be the one to support the head and the arms and the shot is taken on two separate images. These images are then layered over one another, and then the parent is edited out of the picture. This technique is called compositing. If you are serious about newborn photography, you should learn that trick of compositing two images to create a single image you desire. You can check out the tutorial below for more help with this.

10th

Save Photoshop Actions that you Like

The best thing about Photoshop is that you can save a custom setting actions that you can apply to your following edits so you won’t have to do all the editing from the very beginning. These are referred to as Photoshop Actions. Once you have developed and taken a liking to a particular editing effect, you should go ahead and save it for future use. Using saves Actions saves you time and effort for future work. That also helps in creating a standardized and consistent feel to your portfolio.

11th

Save time and effort… invest in Photoshop Actions

Starting the editing from scratch every time you begin on a new set of edits is time-consuming. That is why saving previous Actions that you have taken a liking to is convenient, not to mention it gives off a feeling consistency to your work. But sometimes, other professionals out there have a way of doing things better, which you really would like to try out. Fortunately for you, purchasing preset Photoshop Actions is a thing now. There are dozens of available Actions out there on the internet that you can avail of. If you want the task to get considerably easy but still would result in professional-looking images, then you should invest in Photoshop Actions. But before you make that purchase, be sure that what you’re buying is well suited to your style or is something with an effect that you really would love to emulate. There you have it, the tricks to creating gorgeous looking newborn photos. Whether you are a parent trying to do your baby’s initial photoshoot or a starting photographer wanting to improve on the craft of newborn photography, these tips will surely help you achieve consistency and correct less-than-ideal photos. Although, for beginners, it might take a little while to get used to the program, a bit more practice will familiarize you with the ins and outs of Photoshop, so don’t lose patience. If you can’t devote the time and effort to do Photoshop editing, there is a more convenient option that uses only your smartphone – smartphone photo editing apps. There are tons of photo editing apps available both in Android and iOS that you can download. The thing with these apps is that they are less complicated than professional photo editing software because they are developed specifically for people who want to create seemingly professional photos with just a few taps on their smartphones. Check out this post here to know more about these apps.
Our Featured Articles