When And How To Use Reflectors In Newborn Photography
Choosing The Right Reflector
If you do not have any experience buying reflectors, it can be a little bit intimidating with so many features, colors, sizes, and shapes that can be a bit overwhelming.
First Things First:
SIZE
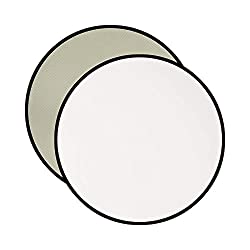
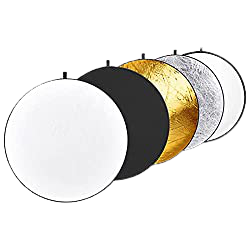
For newborn photography, if you want a portable choice or you shoot individual portraits, you should choose one on the smaller side. The light reflector spreads the light over a wide area, and it makes the light softer. They can be a little demanding for trekking around, but a 40” reflector includes multiple surfaces that can be altered out depending on the needs, they are also collapsible. Reflectors larger than 40″ are best for studio lighting, and can be awkward outside.
GETTING A HANDLE ON LIGHT
The shape of the softbox you use in lighting, as well as the distance between the softbox and the baby, are two factors that will make a massive difference in the results. Besides the above shapes (i.e., rectangular, square, octagonal, and strip), there are also less common shapes, such as round, parabolic, and hexagonal.
Where size is concerned, the rule of thumb is that the size of a softbox should be just about the same as the subject. That means that a full-body shot may require a softbox within the 48-inch or larger range, while a half shot or headshot may require a softbox in the range of about 18-24 inches.

NATURAL LIGHTING/OUTDOORS
COLOR BASICS
Gold makes a golden and natural warm fill that is best for indoor or sunset portraits.
Sliver can produce a high-contrast image through increasing highlights. It is essential for white and black photography, product shots, and video. Black is used to subtracting light or used as a flag to block light. White gives a neutral-colored bounce and even light that works best as a fill light source.
Translucent fabric a utilized for diffusing light, making a soft effect and broad light source.
BACKLIGHTING
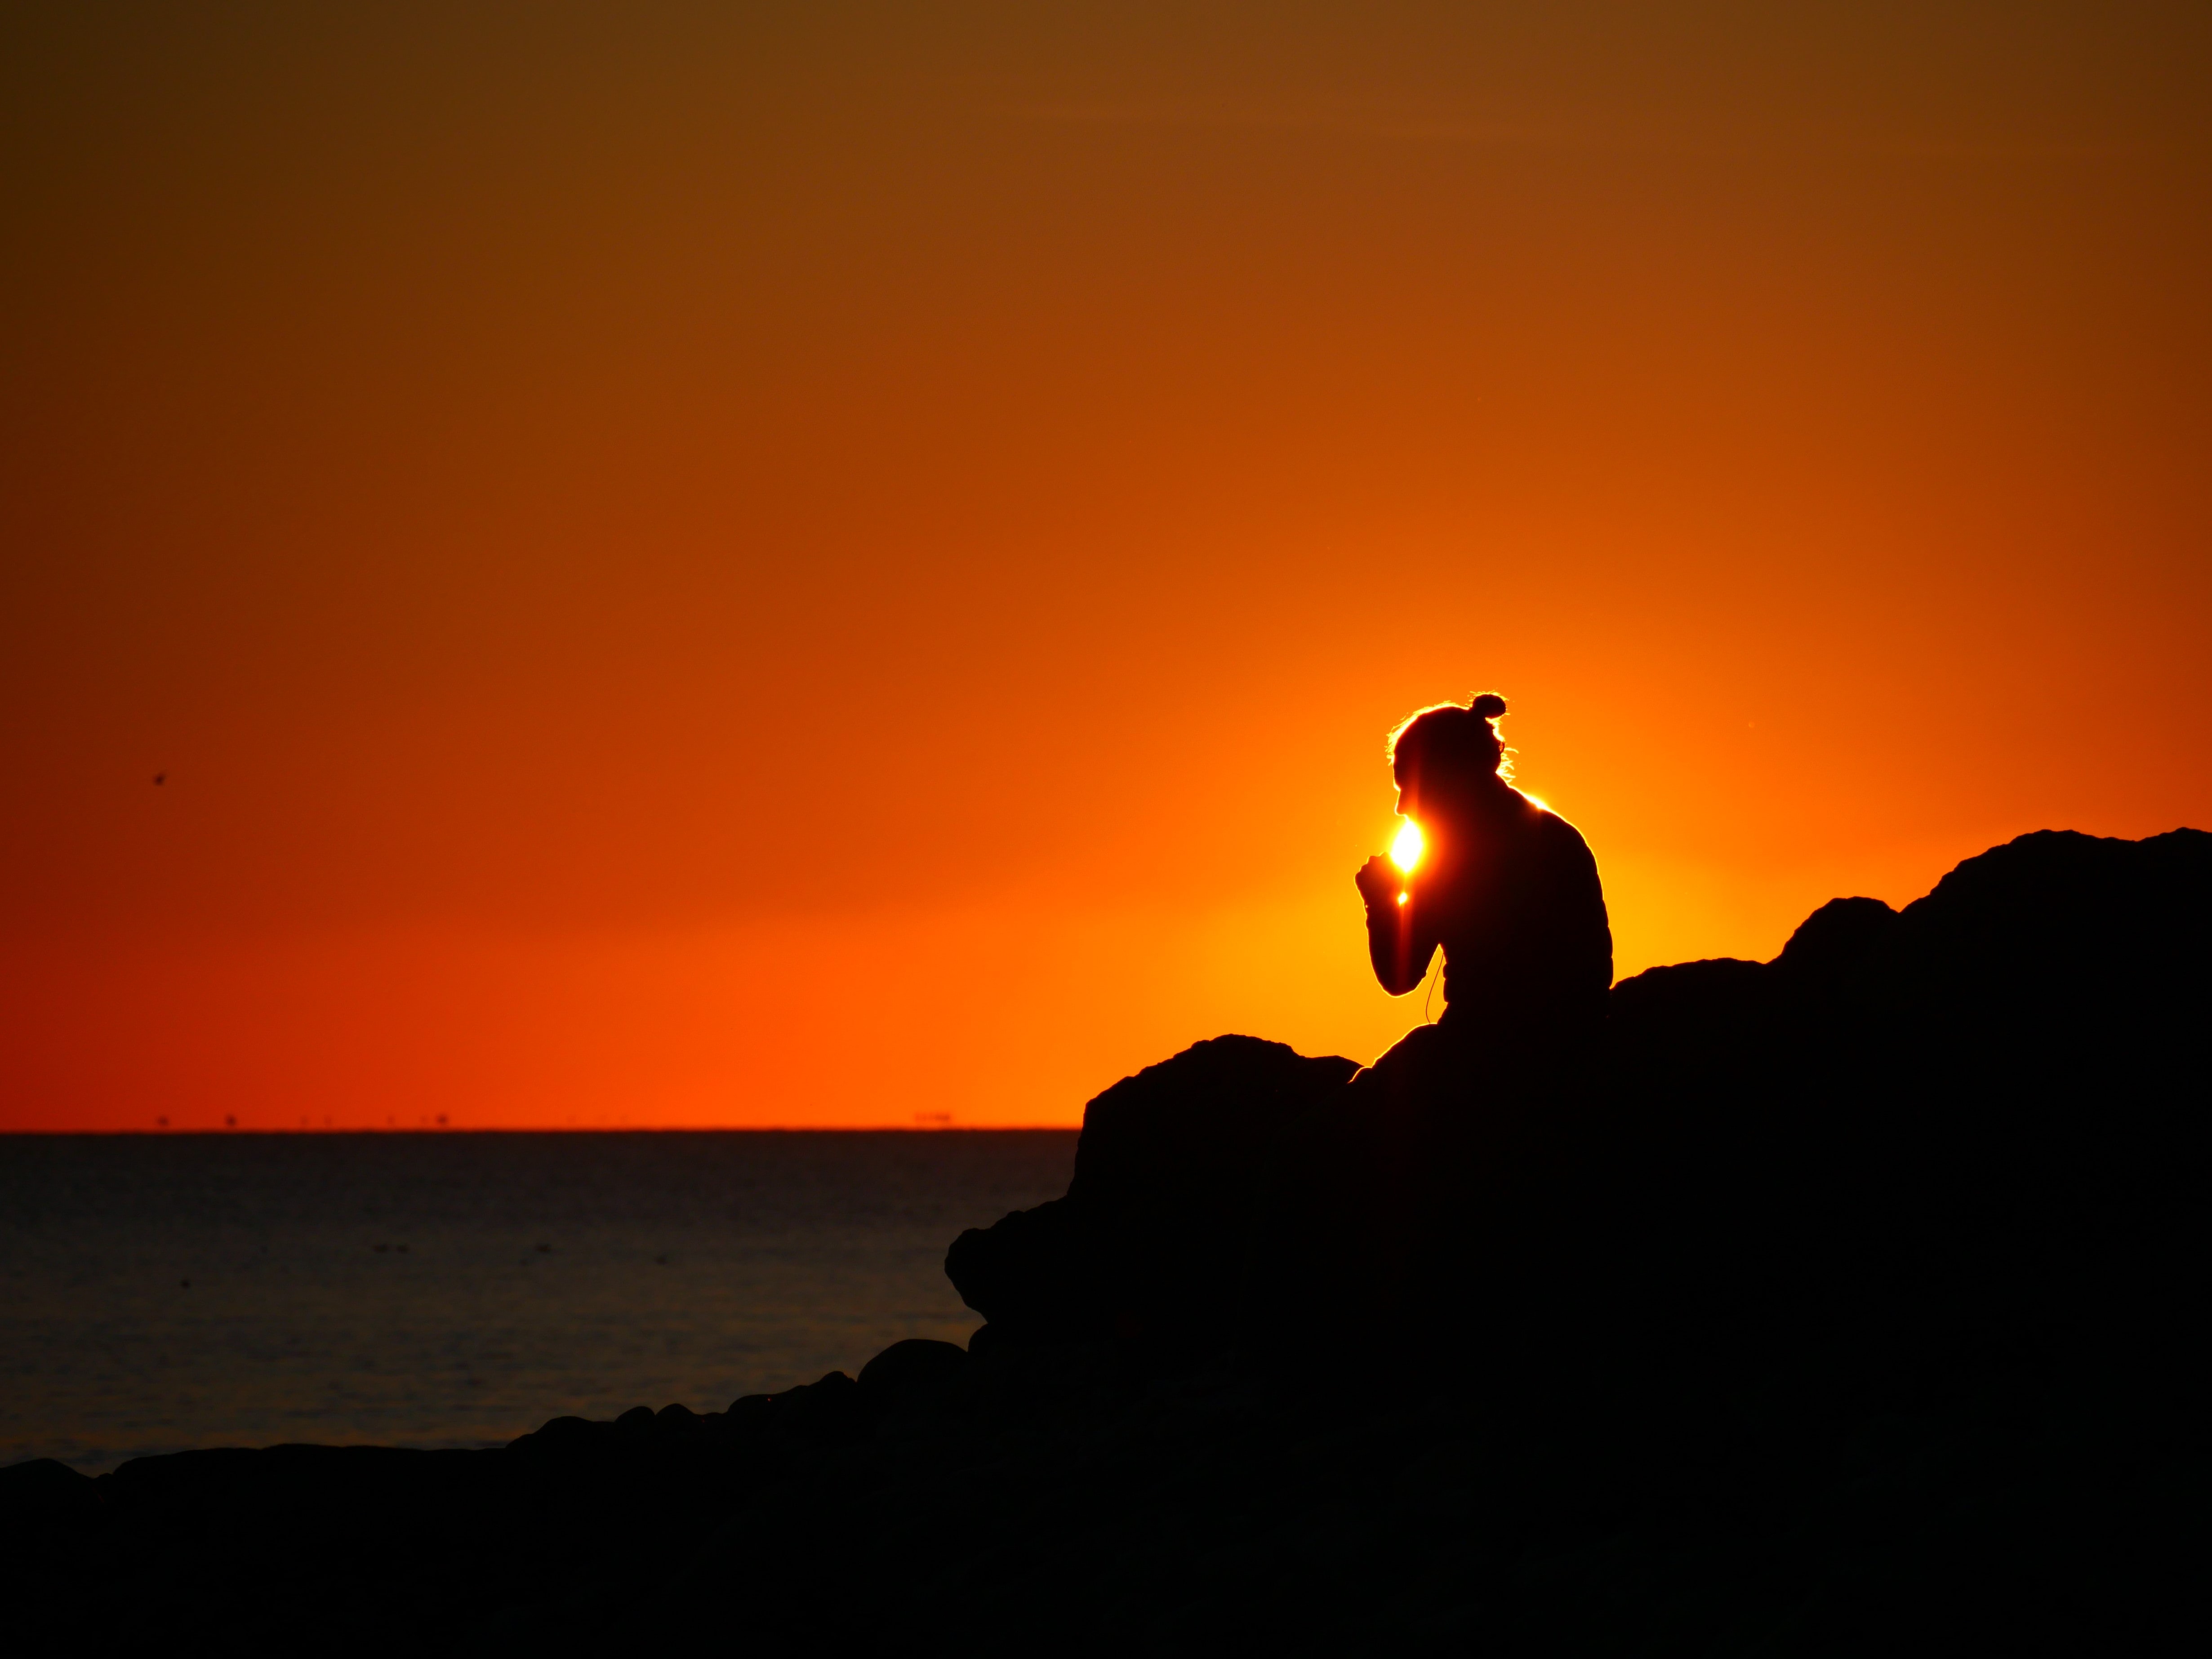
The effects of backlighting your baby with natural light are amazing. The rim light made from backlighting will outline the newborn and give a soft haze to the back. The issue is that it spades parts of the infant in shadow. When you place the reflector directly in front of the subject, you can quickly bounce the sunlight and adding soft lighting to the forefront. By doing this, you can control the number of shadows on the baby while also adding a little dimension and drama to the photograph.

DARK SHADOWS
The dark reflective surfaces under the subject, for instance, brick or black-top, can actually bounce strange coloring or dark shadows under the eyes or chin of the child. To aid in counterbalancing this, put a reflector, angled up, in front of the subject to softening these shadows.
KEY LIGHT
Key lighting is the best use of a reflector mentioned so far. One of the best features of a reflector is its portability. When out on a spot shoot, all you need is reflector and a quality speed light. When positioned as the key light, the reflector can bounce any existing light either artificial or natural on the subject and provide a sense of power to the images. It is like having a studio lighting in your back pocket.
You can also make use of a gold reflector to bounce the sunlight and adding some dramatic shadowing onto the child. It aids you in keeping the bokeh in the background without blowing out the exposure of the picture.
DIFFUSION
While in the shade, you still may need to diffuse light to avoid harsh shadows. You can do this by utilizing a sheer white reflector. This method is also useful while photographing children or infants outside of the studio. It is essential not to expose their sensitive skin to direct sunlight. Utilizing a soft white reflector to diffuse the light will allow you to capture the images while those little bodies free from harm.
OVERCAST AND HEAVY SHADE
You can still shoot in these situations as long as your account for the uneven light. These situations can also make heavy shadows below the chin and eyes if you are not cautious. For countering the balance of the shadows, you will need more than one reflector. Two will be used as key lights on each side of the newborn, depending on the direction of the sunlight, and one needs to be positioned at an angle under the subject directly.
The goal here is to bounce as much of the light onto the child to avoid a flat image.


