Best Camera Settings & Lens Combinations for Newborn Photography
You’ve waited for this baby for so long, and in just a few moments, your bundle of joy is coming out. As you’ve got the nursery all painted up, crib in one corner, baby clothes in another, the overnight hospital bag near the door ready to go, you have just one more thing to consider – photography. Most parents would love for all this preparation, overwhelming emotions, and life itself captured and made timeless in photographs. Are you prepared for the documentation side of it?
You don’t have to fret since you can hire birth photographers who can capture the first seconds up to the first hours of life right there in the hospital or birthing center. There are so many magical moments that happen during birth, and it requires each parent to be fully present in the moment. Trust your photographer to capture all the beauty that occurs right before you as you witness life unfold.
Sometimes though, you might decide to be the one to photograph the first moments of your newborn’s life yourself, which is totally fine and all the more precious in your journey as a parent. So, to help you in this pivotal task of photographing your newborn’s first moments, we’ve come up with a camera and lens guide for you and your photographer in those endearing early days. If you fall among parents who want to capture every moment into the camera, then you may have to check out our informative post on newborn photography tips for parents.
Shooting in low light
The first minutes of a newborn’s life are usually in a delivery room that generally offers less than ideal circumstances for photography. The light is either too dark or too harsh. But then, photography is all about light. A low lit room is no different from a harshly lit one, as it is from a well-lit one. It is working with light as a newborn birth photographer, or even as a parent, can provide a lot of opportunities to be creative. Knowing the correct camera settings and lens to use can leave you with stunning images. Here’s are ideas on newborn photography camera settings to shed a little light and make sense of all the jargon.
Camera Settings:
-Shoot in manual mode
Although the latest cameras or even camera phones have become pretty much“intelligent” nowadays, nothing beats having the human brain think through an image before it happens and capture it. You also get way more creative newborn pictures putting your camera on manual mode than shooting in auto.
The next few paragraphs will run you through the basic manual settings you can navigate through to get the most of photographing your newborn. The exposure triangle, one of the fundamental goals of photography, is to come out with properly exposed images. That means an image shouldn’t be too dark or too light. There is this concept called the“exposure triangle,” and there are three pillars to it:
• ISO
• Shutter speed
• Aperture
Learning when to properly adjust each of these pillars will give you properly exposed photographs of your newborn. Use a High ISO; ISO measures the light sensitivity to the image sensor. In a low-lit room, you would want more sensitivity to light for the image to come out properly, so you choose a high ISO. That’s one of the first questions to ask yourself as a photographer when you walk into a room. What is the quality of light? Is it bright or dark? From there, you adjust the ISO.
A lower ISO is for bright conditions, and higher ISOs are for darker ones. Most cameras’ low ISOs are at ISO 100, and higher ones would be at ISO 1600 or more. Though higher ISOs will give brighter photos, it will also provide grainier ones. At the end of the day, it’s up to you to choose to embrace the grain or not.
-Shutter Speed… slow or fast?
Shutter speed also has a vital role in the brightness of your photograph. However, it has more weight in defining how you want the final image to come out – do you want to freeze the action or give it some motion blur?
Shutter speed is the amount of time your camera shutter is open or how long your camera spends taking a photo. So a camera shutter that’s open for a longer time will record not only more light but also the action that happens.
When there’s a lot of movement going on (like in a delivery room), and you’d like to freeze the action, use faster shutter speed. A shutter speed set at 1/500 is faster than 1/60. That is also saying the shutter is open for 1/500th of a second. You can use either a fast or slow ISO for low-lit conditions. It depends if you want to freeze the action or put some blur in the movements. Showing a sense of movement in photographs can be more creative at times.
-Aperture
Like ISO & shutter speed, the aperture will have its say on the brightness of a photograph. But more than that, it has something to do with the subject’s separation from the background. Aperture is expressed in f-stops.
Here are some examples:
• f1.8
• f2.8
• f3.5
• f5.0
• f11
Choosing an aperture with a lower value separates your subject more from the background. It means its more focused on the subject, and the background is more blurred.
The questions you have to ask yourself here as a birth / newborn photographer is, how much details do I want sharp in the photo? Do I want the subject to stand out and blur the background?
The lower (or more wide open) aperture is what newborn photographers choose most of the time.
Shooting in low-lit scenarios will also call for lower f-stop values to get more light in the photograph.
-White Balance
An important factor often overlooked by photographers is the color or temperature of the photo. Sometimes we get too excited with babies and all their cuteness that we forget to take into consideration the color of light in the room and end up with photos that are either too yellow or too blue.
That is where your camera’s white balance setting comes into play. You’ll see this in most cameras displaying a light bulb, fluorescent light, sun, or cloud symbol.
Say, you step in a room that has yellow lighting, it means the temperature of light that it’s giving out is warm. What you’d like to do is lessen the warmth in the photo, so it doesn’t come out too yellow. Therefore you set the white balance setting to the light bulb symbol.
On more advanced cameras, they will have the Kelvin setting. For warm-colored conditions, set the Kelvin to a lower value 2500-3500 kelvin to compensate for the yellow tones.
The rule of thumb is to follow the lighting temperature. If you walk into a room with fluorescent lighting, set it to the fluorescent symbol. Adjustments can be made later on should you want a warmer or cooler photo.
-To flash or not to flash?

Using a flash makes everything easier because the subjects come out clearer most of the time. However, when doing birth or newborn photography, you’d want to be as discreet as possible and not get into the way with blinding flash, which can be distracting.
During the birthing process or in a hospital room, the best moments happen when the parents don’t feel like a photographer is there, and they enjoy moments with their new baby. Now that’s when you capture all the charm before you, and you’d be surprised how much stunning moments can happen that way.
-Best lens for low-light conditions
The first half of the equation of capturing good newborn photos is the camera you’ll use, and the second half is the lens. While most parents and amateur photographers will be happy to have purchased a DSLR for newborn photography, they’ll quickly, later on, realize that it doesn’t stop with just the camera body for taking great newborn photographs.
A kit lens that usually comes with most camera bodies has a variable aperture of f/3.5 –f/5.6. Though it may do the job of taking general photos, when it comes to newborn photography, a fixed aperture lens is more favorable for tiny portraits and low-light conditions. It’s best to set the aperture on the camera to a low value.
Here are some examples of fixed aperture lens that are great for newborn photography:
• 24-70mm f/2.8
• 35mm f/1.4
• 50mm f/1.8
• 85mm f/1.8
• 70-200mm f/2.8
These lenses may cost as much or even more than the camera body but are well worth the investment for its versatility in low-lit conditions and for the quality of photographs it’ll give you. Now that we’ve got the basics down for you, you’re now ready to photograph newborns whatever the lighting condition is.
Newborn photography Hospital Rooms Hacks
Here are tips in photographing when the delivery room:
• Use high ISO.
• Don’t use flash.
• Use fast shutter speed to freeze the action happening in the delivery room – from the doctors moving around, to the babies first cry, to the parents’ priceless reactions when they see their baby for the first time.
• Set aperture to the low value – anywhere from f/1.2 to f/2.8 would do a great job in focusing just on the baby and mother.
• Depending on the temperature of light in the room, adjust the white balance accordingly. But here’s a hack – if the lighting is too mixed, you can always go for black and white instead, high five!
• Delivery rooms are usually small, and it could get crowded with all that’s happening, so it’s good to use a wide-angle lens like the 24-70mm.
• Getting all the cuddling for the first time is best captured with a 35mm or 50mm lens.
• Should you want to maintain a reasonable distance from all the action, use a zoom lens 70-200mm or 85mm prime lens.
• Be mindful of spotlights that can get harsh, exposure for that kind of light to make sure the subjects don’t come out too washed out.
• Portrait lens would be great for hospital room shots.
Tips for In-Home Newborn Shots
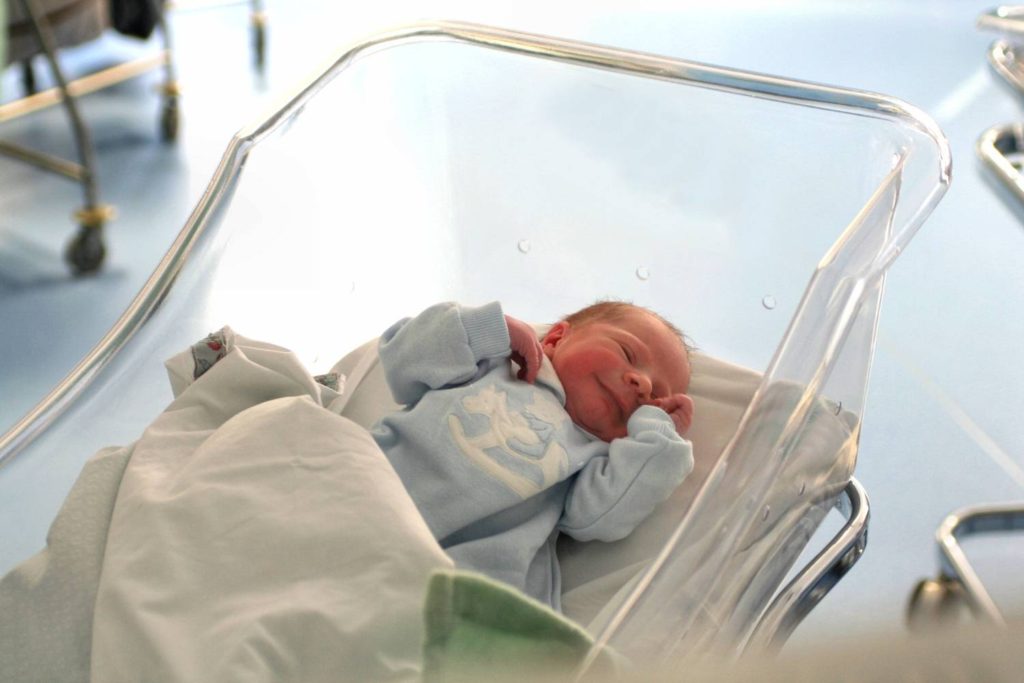
First Few Days As the hours turn into the first few days of life and the parents & baby make their way home, they may want to capture all that happens here as well. Since a professional newborn shoot isn’t scheduled until the next two weeks, the baby may still be photographed in the comforts of home.
Be guided by natural light coming in a room – it’s always best to photograph next to a window. In the absence of natural lighting, you can always bump up your ISO and work with low apertures. The shutter speed would vary, but I personally like to work on 1/60 – 1/250 for in-home settings. Portrait prime lens (35mm/50mm/85mm) are great for the first few days of newborn photography at home.
Shooting in well-lit conditions
A well-lit condition for newborns can be in a room with big windows, on the front porch, or during a professional newborn shoot.
That will call for the following settings on your camera:
• Lower ISO
•More versatility in lens aperture – while a low aperture is used in low light, you can be freer to explore higher apertures in well-lit situations. That means you can capture more background in a scene instead of having them blurred out and still come out with bright photos.
It still depends, though, on what outcome you’d like because if you go for the blurred backgrounds, then you can always go back to low aperture settings.
• White Balance – if there’s a lot of natural light coming in, its best to set the white balance to cloudy or shade (5000-6000 Kelvin) to get great skin tones.
• Shutter speed – compared to shutter speed settings in dark situations, you can work with faster ones now that there’s more light in the surroundings.
• A professional newborn session would have either natural light and studio lights.
-o- Natural light – low ISO, shutter speed set at 1/60-1/125, low apertures, use of portrait lens.
-o- Studio light – low ISO, shutter speed set at 1/60-1/125, ideal apertures set f/2.0-f/4.0, use of portraits lens.
Now that you got the camera settings and lens for newborns set, you can now check how to pose newborns in our other blog post here:
There are various photo sessions that newborn photographers offer, from birth, to before the family leaves the hospital, to in-home sessions. These first glimpses of life make for some of the most amazing milestones in a family’s life and some pretty impressive photographs for a photographer’s portfolio.
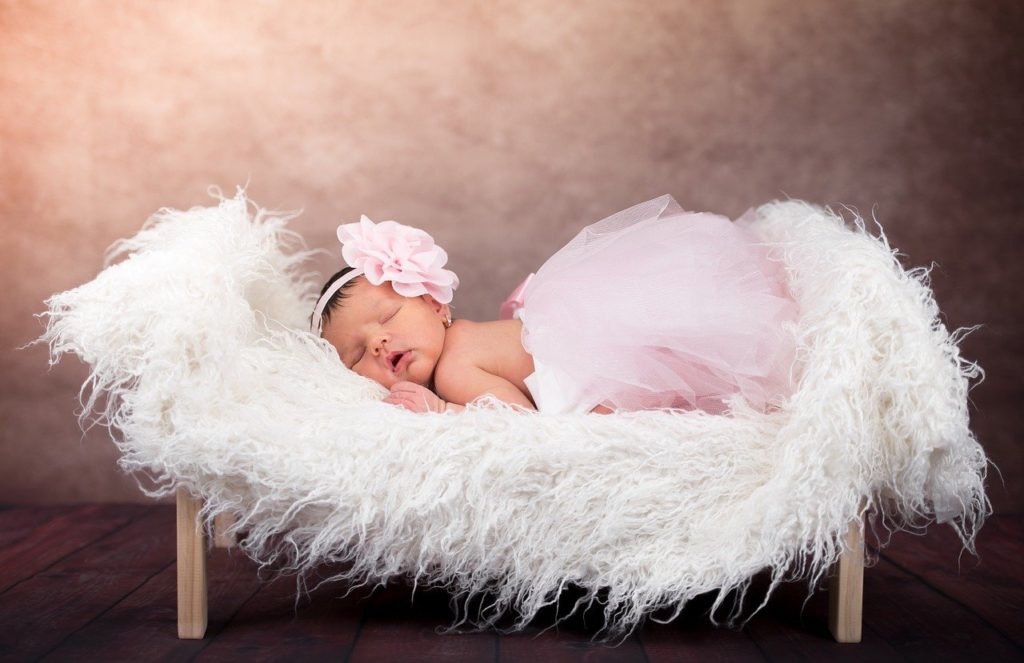
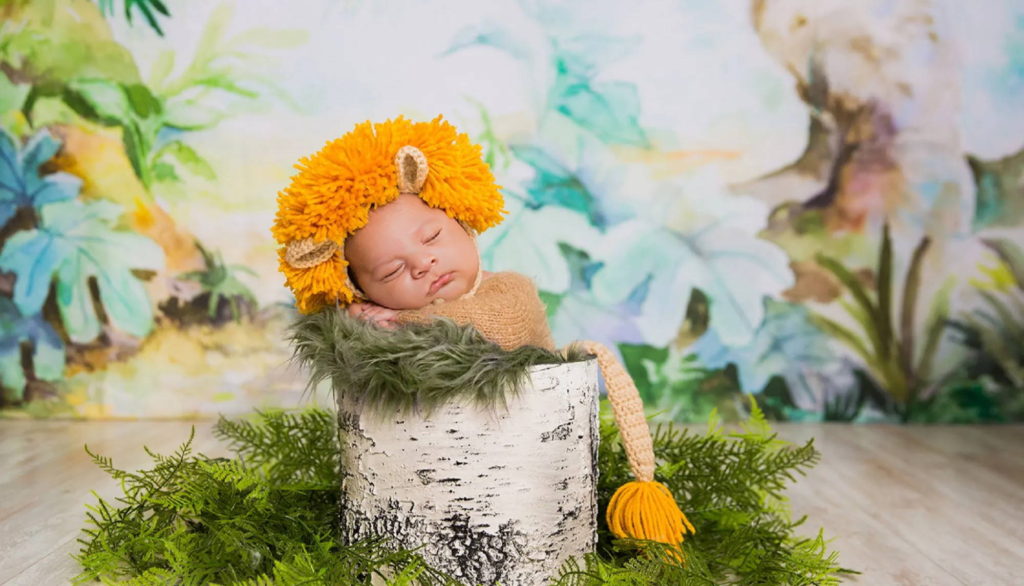
Tiny Prop Wrap Options


